Calculator - build a simple one
Calculator - build a simple one
In this tutorial, we are going to see how to build a simple calculator in HTML, CSS and JavaScript from scratch.
Demo
See the Pen Simple Calculator HTML/CSS/JS by Cool BRG (@coolbrg) on CodePen.
NOTE: Click on c to clear the display.
| Although demo is in Codepen, the tutorial encourages you to write code in an editor and open the web page or result in browser. |
Prerequisites
- Enthusiasm and passion to Learn
- Basic HTML knowledge. Following tags are used in this tutorial:
h1tagtable,td,trtagsinputtag
- Basic CSS knowledge. Following concepts are used in this tutorial:
- class based css
- tag based css
The W3school introductory tutorial on HTML and CSS should help you with getting the basic knowledge of them.
Solution Steps
| The UI design and implementation here is one of the simplest approach. One can design of any type like colorful calculator, more operations etc which I leave up to you. |
Follow the steps below to build the simple calculator.
Setup
Let’s first create the necessary files for this tutorial.
$ mkdir html_css_js       # Create a common folder for all HTML, CSS, JS programs
$ cd html_css_js          # Enter into the folder
$ mkdir simple_calculator # Folder to store our calculator files
$ cd simple_calculator    # Enter into the folder
$ code .                  # Open the current directory in VS Code
NOTE: In Windows OS, you can open command prompt or powershell and perform commands to achieve similar operations.
Now, under EXPLORER and simple_calculator menu, click on file icon to create following files:
-
Create
index.htmlfile with following content:<!DOCTYPE html> <html lang="en"> <head> <meta charset="UTF-8"> <meta name="viewport" content="width=device-width, initial-scale=1.0"> <title>Simple Calculator</title> <!-- CSS --> <link rel="stylesheet" href="style.css"> </head> <body> <!-- Title --> <h1>Simple Calculator</h1> <!-- Calculator --> <table> </table> <!-- JavaScript --> <script src="javascript.js"></script> </body> </html>This will define the structure of our calculator app.
- Create
style.cssfile to store CSS code with empty content. - Create
javascript.jsfile to store JavaScript code with empty content.
Add calculator UI
We will now build the UI of calculator and table tag is best for building it as shown in below.
| row | box 1 | box 2 | box 3 | operator |
|---|---|---|---|---|
| row 1 | space | space | space | C |
| row 2 | 1 |
2 |
3 |
/ |
| row 3 | 4 |
5 |
6 |
- |
| row 4 | 7 |
8 |
9 |
+ |
| row 5 | . |
0 |
= |
* |
First row
Now, since we got the basic idea of UI for building calculator let’s build our first row.
Add the following code for table tag:
<table>
  <!-- first row to have result display and clear result  -->
  <tr>
    <td colspan="3"><input type="text" id="result" /></td>
    <!-- clearResult() function will clear result textbox -->
    <td><input type="button" value="c" onclick="clearResult()" /></td>
  </tr>

  <!-- 2nd, 3rd and 4th rows -->
</table>
In the above code:
colspan=3is spanning the table column upto three column and hence we will get nice input textbox to collect input.- The input text box is given
idasresultso that we can manipulate it later through javascript. <input type="button" value="c" onclick="clearResult()" />call the functionclearResult()which we will define injavascript.jsfile later.
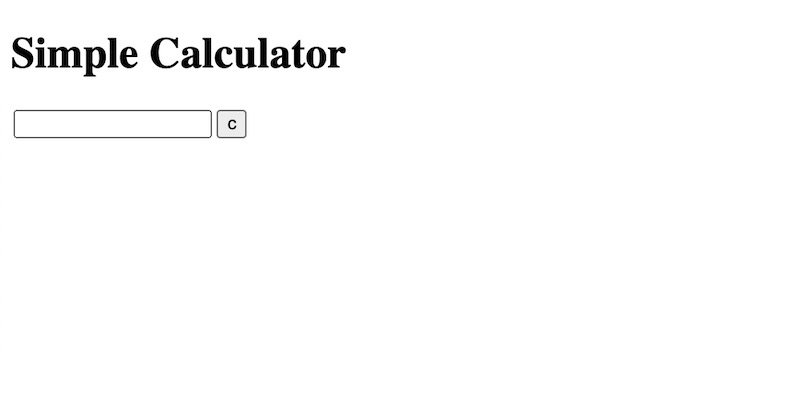
Now, if you open the index.html file in browser, you should see the first row of calculator as below:
2nd, 3rd and 4th rows: Numeric buttons
The cell value in 2nd, 3rd and 4th rows are almost identical with just one change. The format for button is:
<input type="button" value="value-to-be-displayed" onclick="displayValue('value-to-be-displayed')" />
NOTE: The displayValue() function is called when the button with specified value is clicked.
The code for 2nd row is given below and 3rd and 4th row I would leave for you to do it. Copy following code
below the comment <!-- 2nd, 3rd and 4th rows --> from the code we left above.
<tr>
  <td><input type="button" value="1" onclick="displayValue('1')" /> </td>
  <td><input type="button" value="2" onclick="displayValue('2')" /> </td>
  <td><input type="button" value="3" onclick="displayValue('3')" /> </td>
  <td><input type="button" value="/" onclick="displayValue('/')" /> </td>
</tr>
The 3rd and 4th row is identical as above with just change in value and displayValue() content.
Last row
The last row consist of special button which is equal to operator (=).
When user click on this button, we need to take the value of the text box and evaluate the content and display its result back to the text box.
Let’s add the code for the last row:
<tr>
  <td><input type="button" value="." onclick="displayValue('.')" /> </td>
  <td><input type="button" value="0" onclick="displayValue('0')" /> </td>

  <!-- solve() will evaluate value and display to result -->
  <td><input type="button" value="=" onclick="solve()" /> </td>

  <td><input type="button" value="*" onclick="displayValue('*')" /> </td>
</tr>
NOTE: Check the button with value as = and solve() as onclick value. We will define the solve() in the later step.
Full calculator UI
Till this time, we are ready with full calculator UI.
<h1>Simple Calculator</h1>

<!-- Table to show calculator -->
<table class="center">
  <!-- first row to have result display and clear result  -->
  <tr>
    <td colspan="3"><input type="text" id="result" /></td>
    <!-- clearResult() function will clear result textbox -->
    <td><input type="button" value="c" onclick="clearResult()" /></td>
  </tr>

  <!-- 2nd, 3rd and 4th rows -->
  <tr>
    <!-- displayValue("1") will be called -->
    <td><input type="button" value="1" onclick="displayValue('1')" /> </td>
    <td><input type="button" value="2" onclick="displayValue('2')" /> </td>
    <td><input type="button" value="3" onclick="displayValue('3')" /> </td>
    <td><input type="button" value="/" onclick="displayValue('/')" /> </td>
  </tr>
  <tr>
    <td><input type="button" value="4" onclick="displayValue('4')" /> </td>
    <td><input type="button" value="5" onclick="displayValue('5')" /> </td>
    <td><input type="button" value="6" onclick="displayValue('6')" /> </td>
    <td><input type="button" value="-" onclick="displayValue('-')" /> </td>
  </tr>
  <tr>
    <td><input type="button" value="7" onclick="displayValue('7')" /> </td>
    <td><input type="button" value="8" onclick="displayValue('8')" /> </td>
    <td><input type="button" value="9" onclick="displayValue('9')" /> </td>
    <td><input type="button" value="+" onclick="displayValue('+')" /> </td>
  </tr>

  <!-- last row  -->
  <tr>
    <td><input type="button" value="." onclick="displayValue('.')" /> </td>
    <td><input type="button" value="0" onclick="displayValue('0')" /> </td>

    <!-- solve() will evaluate value and display to result -->
    <td><input type="button" value="=" onclick="solve()" /> </td>

    <td><input type="button" value="*" onclick="displayValue('*')" /> </td>
  </tr>
</table>
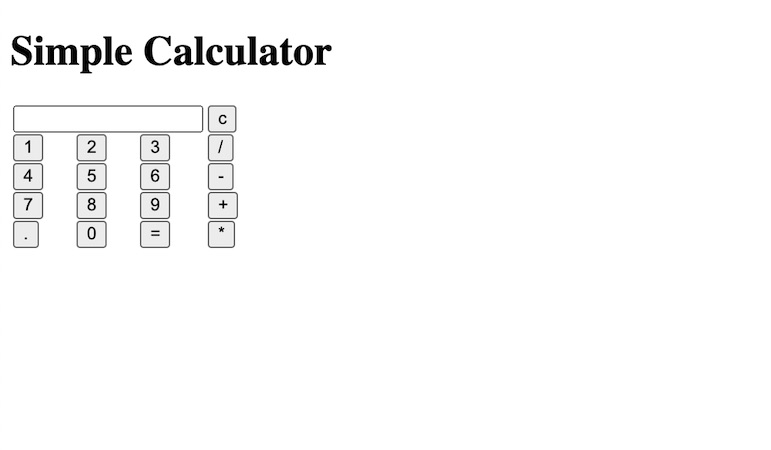
Now, if you refresh the index.html file in browser, you should see the rough UI of calculator:
Styling our calculator
If you see the UI, it looks bit ugly and buttons, text box and other elements are not consistent too.
CSS helps us to style our web page.
Add following CSS to style.css file:
h1 { text-align: center;}
table {
  border-collapse: collapse;
  border-radius: 5px;
}
table.center {
  margin-left: auto;
  margin-right: auto;
}
td, th {
  border: 1px solid #eee;
  text-align: left;
  /* Uncomment below and see */
  /* background-color: #eee; */
  padding: 8px;
}
input[type="button"] {
  background-color: #eee;
  color: #111;
  width: 100%;
  border-radius: 5px;
}

input[type="text"] {
  background-color: white;
  width: 95%;
  border-radius: 5px;
}
The CSS I have used quite simple and easy to understand.
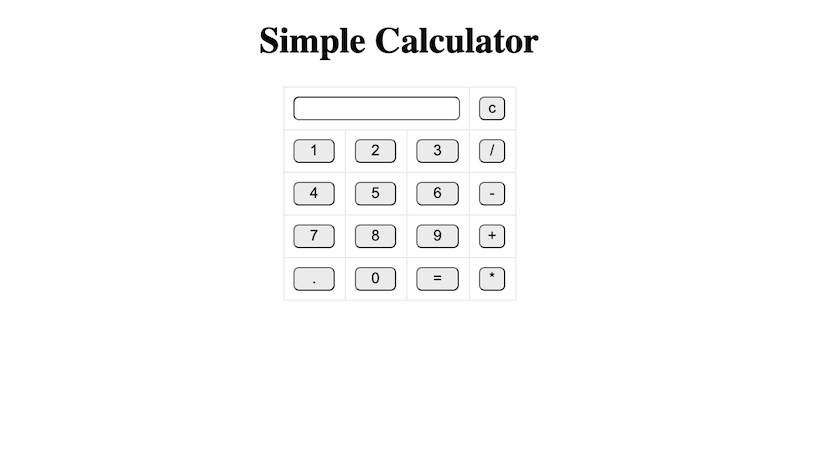
Now, if you refresh the index.html page in browser, you will see calculator UI as below:
Adding functionality
At the moment, if you interact with calculator by trying to click on any number or operator then it will not display in the text box as we want. For this to happen, we need to implement the following three functions:
displayValue(): To display the value in the text boxsolve(): To get the text from text box and evaluate it and display the resultclearResult(): Clear the content of the text box
Copy following JavaScript code into the file javascript.js to add functionality to our calculator:
// display value
function displayValue(val) {
  document.getElementById("result").value += val;
}

// evaluates the digit and return result
function solve() {
  let x = document.getElementById("result").value;
  let y = eval(x);
  document.getElementById("result").value = y;
}

// clear the result
function clearResult() {
  document.getElementById("result").value = "";
}
In the above code:
document.getElementById()returns an element object representing the element whoseidproperty matches the specified string. Read more.eval()function evaluates JavaScript code represented as String. Read more.
The sample operation of calculator look like below:
Possible optimizations
- You can add other mathematical operations as per your need.
- You can improve the UI. Check the line
/* Uncomment below and see */instyle.cssto try. Play more.

Help me to improve BRG Trainings.